Est. reading time: 5 minutes

Dedicated Servers
High-performance, bare-metal, dedicated servers with root, IPMI and RMM access.
Container VPS Hosting
Virtual servers give you the dedicated server experience affordably.
Linux Virtual Machines
Cloud-based Linux virtual machines powered by KVM.
Windows Cloud Servers
Windows virtual server hosting within the cloud for fast reliable connectivity.
Managed cPanel Servers
Managed cPanel cloud server hosting with priority support and daily backups.
Managed Colocation New!
Secure hosting for your critical infrastructure.
Accounting Software Hosting New!
Efficient, cloud-based hosting for accounting software.
Web Hosting
Take your idea or business online today with our shared web hosting solutions.
Email Hosting
Let your customers know they are dealing with a legitimate business by using a custom email address.
Site Builder
Build your own website online with our easy drag and drop website builder.
LiteSpeed Hosting
Accelerated LiteSpeed hosting with improved performance for your website, blog or online shop.
WordPress Hosting
Build your WordPress website with thousands of plugins and themes to choose from.
Register a domain
Search for and register your domain today.
Transfer your domain
Transfer your existing domain to us.
Domain prices
View prices for all domain registrations, renewals and transfers.
WHOIS Lookup
Lookup every single domain currently registered in the world.
VPS Reseller
Becoming a VPS reseller is a great way to earn money.
Reseller Web Hosting (WHM)
A great way to earn money and build your own web hosting company.
LiteSpeed Hosting Reseller
Advanced server-side caching to accelerate your LiteSpeed enabled websites
Domain Resellers
Resell Domains and profit from our large reseller rebates.
Acronis Online Backup Reseller
Become an Acronis online backup reseller to maximize your revenue.
Login
Log in to your personal HOSTAFRICA account
Register
Don't have an account yet ? Create a new one
Forgot Password?
Recover your account password
Move to HOSTAFRICA
Free cPanel to cPanel and domain name transfers with any new plan!
Announcements
All the latest from HOSTAFRICA
Knowledgebase
Browse our knowledge base to get help immediately.
Network Status
Network issues & scheduled maintenances
Contact us
Need other help with your HOSTAFRICA account?
Blog
Find our latest news, guides and tutorials here.
You’re at the tail end of starting your website and realised you need to install a few more applications to get things underway. Alternatively, you’ve had your website for a while but decided to branch out and get a blog or open an online store.
Either way our simple guide will show you how to install WordPress, Joomla, Drupal, and OpenCart. These CMS systems are not required for you to run your website, but they do make things a lot easier and require much less technical skill than programming your own CMS and/or interface.
They’re also constantly updated with patches and bug fixes while also offering support so you can expect a helping hand when you need it. Another benefit is that the up-to-date software won’t leave you vulnerable as outdated software sometimes does..
In your cPanel, you’ve got a handy little application called Softaculous. This application serves as a one-click installer. Simply put, you’ll be able to get what you need with a simple left click.
You can add a couple more clicks if you’d like to customise some installation details, but the one-click install is fully functional and sets up the app of your choosing with the default settings. You can always change it later if you prefer going this route.
Once you’ve logged into cPanel you’ll need to find the Softaculous installer. Scroll to the software section and you’ll see your one-click ticket amongst the crowd.
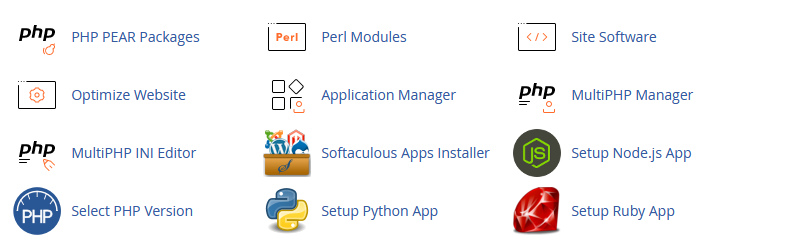
Click the link and you’ll find yourself in the Softaculous cPanel home page. Some of the more popular apps will be front and centre, while some of the others may require a search using the navigation bar on your left.
You can also peruse the list of possible applications by category if you please.
Now that you’re in the installer, let’s get into the thick of it with the most popular of the bunch: WordPress.
To install WordPress, you can either click the Quick Install or Custom Install button. Let’s go through the custom installation.
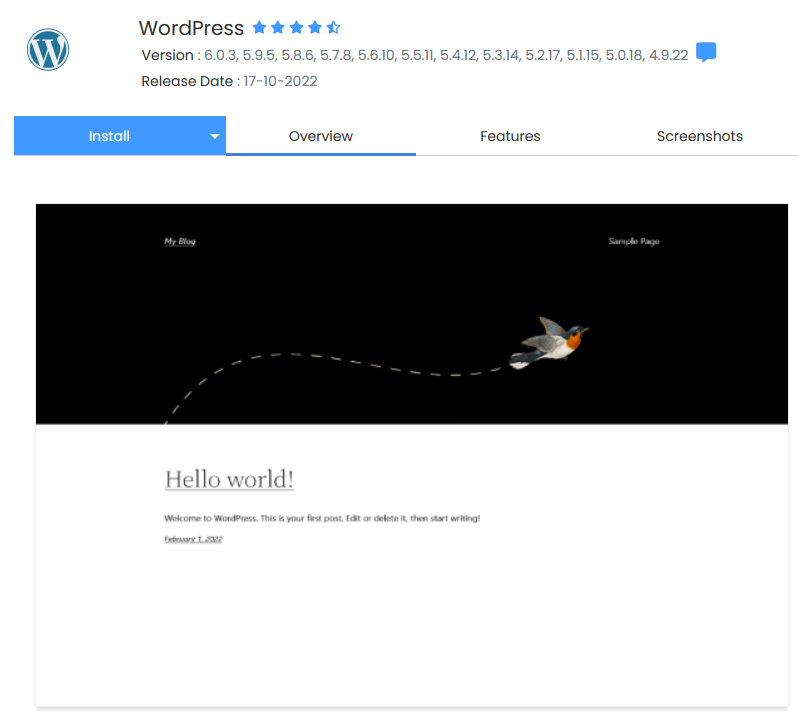
To get to the custom installation click the tiny arrow to the right of the Install button. Here you’ll find a few notable settings. Naturally, your blog name, description, and admin passwords should be amongst the first things you change.
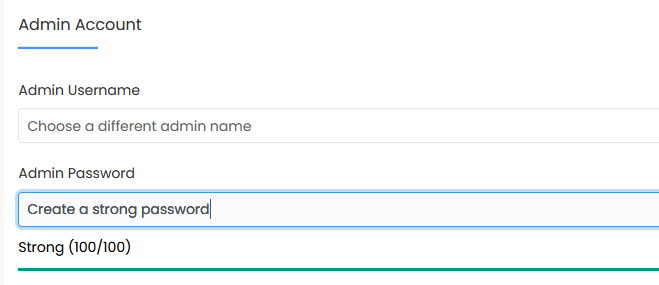
You can always change them again later, but it’s a good idea to have it sorted early on. With regards to your password, you obviously want to create a strong one. Have a look at this blog on how to create a secure password.
You can also change the protocol and domain for the installation. Assuming you have an SSL (which you should), change the protocol to https://. Naturally, you’ll be installing this on your own website, but you can change the domain if necessary.
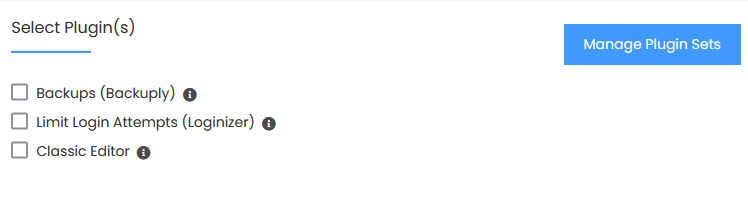
Once that’s sorted, move on to whatever plugins you want to add. The default pair accounts for some basic security features like backup and brute force attack defence.
Under the advanced options, you can decide whether you want certain upgrades done automatically or not, while also specifying under what conditions WordPress should be updated.
You’ll also see options for when and where to backup your data. Backups play an important role in ensuring your data lives on after a mishap. Consider this section seriously if you don’t have any other plugins or plans to back up your data. This blog explains the importance of backing up your data and how to do so efficiently.
After that, you get to do some creative licence to choose your theme (which you can customise later as well). Pick something that matches the tone of your website. Nobody will take a financial institution seriously that looks like an average blogger site.
If you need some guidance installing your WordPress and centering it around your goal, take a look at our blog on how to install WordPress.
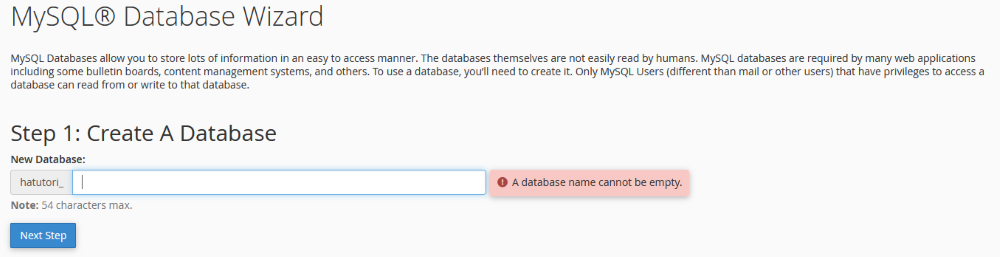
For this installation, we’re going to take the long way around. Start by creating a database on your cPanel. Click on the MySQL Databases Wizard link. Here you’ll be prompted to create a new database.

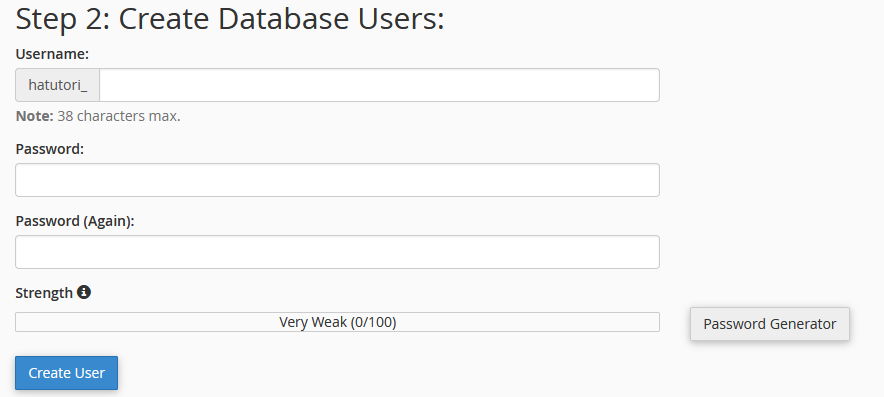
Secure it with a strong password.
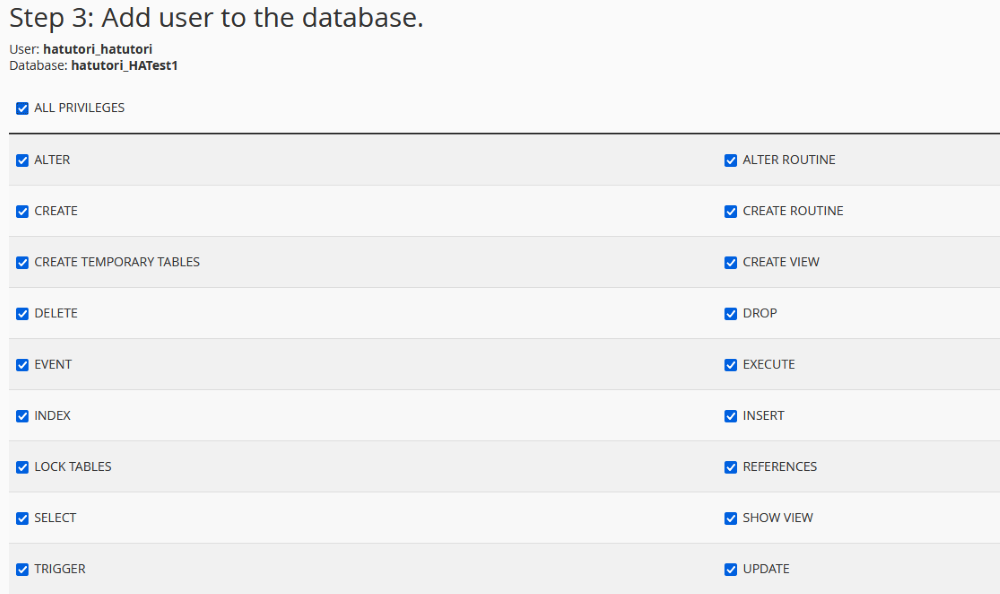
And give the profile all privileges.
Once that’s done, you’ll see confirmation of the database creation with the settings you’ve applied. From there head to the Joomla website to download the latest version.
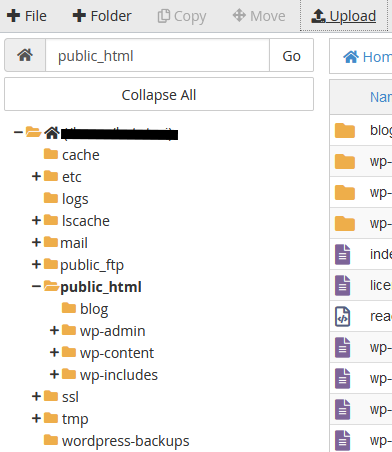
Now that you have your installation file, head to the File Manager link in your cPanel.

Here you’ll have access to your public_html folder. This is usually a good place to upload the Joomla installation file you just downloaded.
Once it’s uploaded go ahead and extract the package in that same location.

When the extraction is completed, head over to your website address (your domain name) and you’ll be prompted with some configuration settings not unlike the Softaculous setup for WordPress.
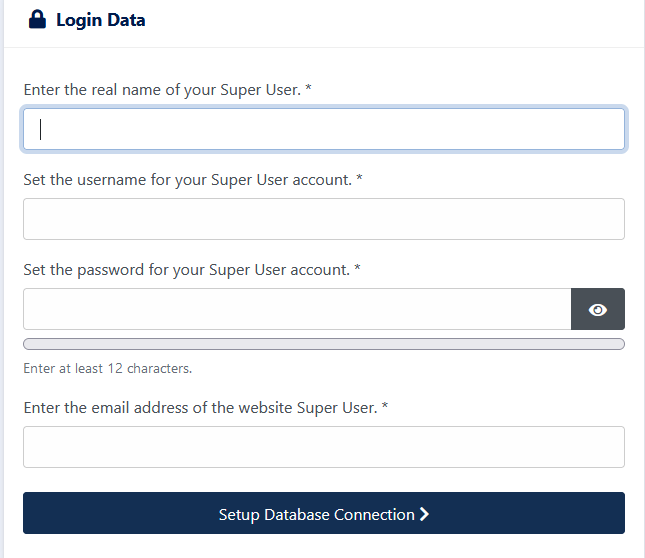
There you’ll iron out some of the details. These include your site name, login data, database type (MySQLi is the most common), etc. After you fill in the relevant details, you’ll see a Congratulations screen.
As a final step get rid of the installation folder to minimise clutter. Thereafter you can get down to business using Joomla.
A simple process, but considerably more effort than the one-click install from Softaculous.
Installing OpenCart or Drupal works much the same as installing WordPress. Of course, if you prefer to go the manual route the steps you follow will be similar to the installation process you followed with Joomla.
You won’t need to create a whole new database if you’re the only user of the account, so some of the initial steps can be cut as well, saving you time down the line.
OpenCart and Drupal also make use of the MySQL database, so if you don’t have one or skip that step, Softaculous will create one for you. If you prefer creating your own simply follow the steps for creating it from the Joomla installation (minus installing Joomla, of course!)
To install OpenCart via cPanel, head to the Softaculous installer and take a look at the installation screen to ensure everything is in order. Again, the basic settings will include your store name, location, admin password, and admin name.
The advanced settings cover backup and database name information. Once you’re happy with the settings let the installer take care of business for you.
If you prefer to install Drupal as opposed to any of the content management systems, follow either of the processes laid out above. Assuming you go with Softaculous, check to see if the settings are to your liking.
Once you’re satisfied, click the install button and it’ll take a few minutes for the software to check your settings and apply them. Once it’s done it’ll look something like this:

That wraps up installing different software through cPanel. Inherently, there’s no difference between the different installation types. The result is the same, although one may take longer than the other. Ultimately, it’s personal preference which you opt to go for.
Remember that Softaculous doesn’t provide support for the individual apps. That’s handled by the software creators for the specific applications.
As for any of your hosting problems, we’ve got your back and are only an email away.
Most cPanel guides are written for those with a web hosting background by tech gurus with little concern for the uninitiated. If, like many, you're part of the latter, this guide is for you.